Showing posts with label DIY. Show all posts

Sunday, 16 March 2014

Upcycled bedside tables

This week I have been updating some bedside tables. I want to decorate my bedroom this year and I don't mind doing it slowly but I want to do it on the smallest budget as possible as we want to move house early next year. I have a mood board and I would like to work as closely as possible to create that.

I came across a pair of bedside tables on ebay for £15, they were literally down the road from me so I didn't need to pay for postage.
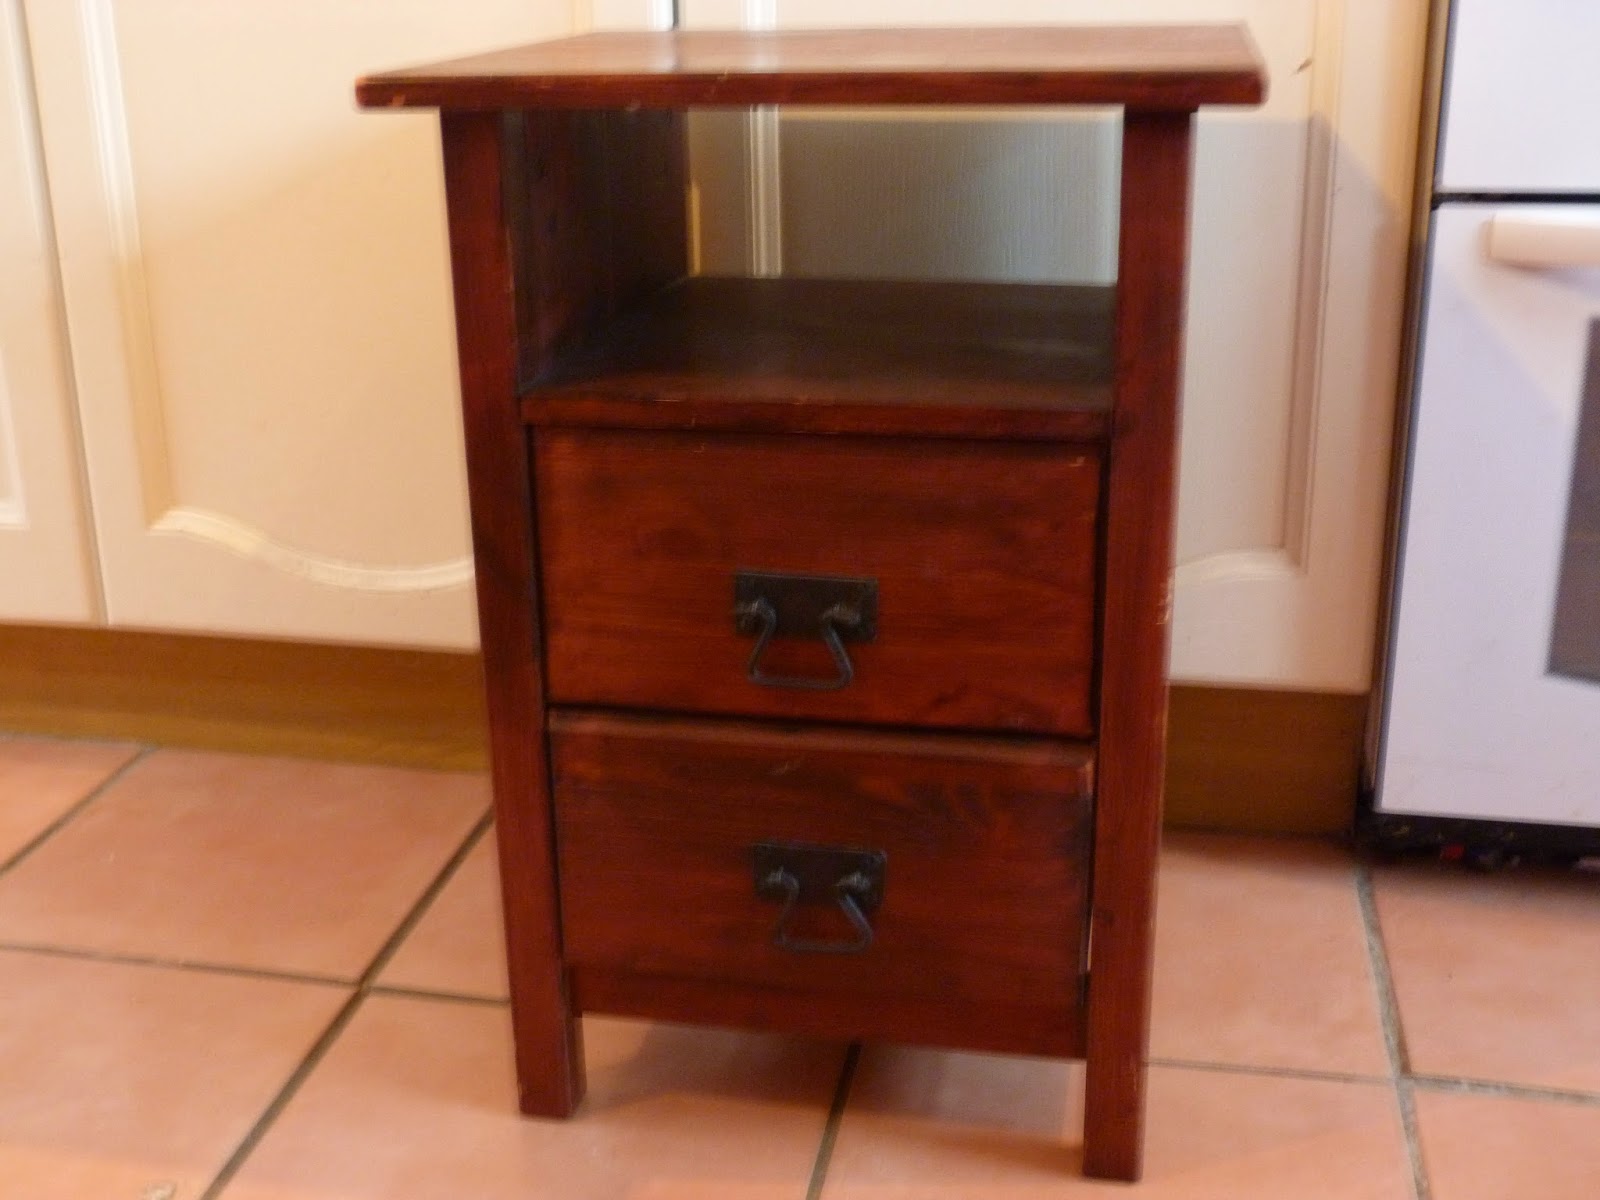

Once I picked them up I realised they had already been upcycled and stained from a light pine. So I sanded them down with a little help from Millie (or little red riding hood!) I did them one at a time just because I didn't have the time or space to do them together.


 I didn't use a primer because I had plenty of paint, so I just did a thin coat of the paint I had and it covered really well.

After two coats it was almost covered and I was tempted to leave it as you could just see the wood slightly underneath but the hubby didn't like it!! So I went with a third coat and I must admit I much preferred it. But we won't tell him that.


I decided to experiment on one of the drawers with a blue on the outside I actually really liked the effect but decided it was pointless as you would't really see it as the drawers are always closed! But it's definately something I would do in the kitchen or living room in the future.


I bought 4 new handles for a very reasonable price from ebay, these are the exact ones, although there are loads to suit your own taste. I thought they might look really tacky with them being so cheap but they look great and you certainly can't tell they are cheapos!


I'm really pleased with the finished result. In fact I was going to shabby chic them and rub them down but I just loved the perfect finish these had. They look brand new and expensive I honestly don't think people wouldn't know if I didn't beg them to come inside and look what I've done! 


I decided to add a bit of extra luxury to the drawers mainly because they weren't too good inside. They were a but dirty and had a few scratches etc. I actually had a single piece of wallpaper hanging on my wall for ages trying decide if I liked it or not. When I decided to go for a duck egg colour I thought this would be perfect. Wallpaper is great for lining drawers with because its so thick. So it should be hard wearing. 


I'm super pleased with how they turned out and now they are all full of my trinkets. 

Next I need two lamps, I was hoping to get to the car boot sales today but the weather hasn't been too good so we gave it a miss. 

I know I have two lamps up to the attic but they have a patterned glass shades... has anybody got any good tips for upcycling them? Please feel free to leave your link in my comments if you do I would love some ideas!

Thursday, 6 March 2014

How to make a cushion cover from a old jumper

Although I haven't shared many diy or craft projects on my blog I do love doing them and hope to feature them from now on. I have had an interest in all different types of sewing and crafting from a very early age. My parents have their own sewing business, my Dad has been a sewing machine mechanic all his working life and my Mum has always had a sewing job, with lots of different companies and her own. I actually sew golf flags in my 'spare' time to make extra money to enable us to go on holiday each year. Its nothing exciting or challenging but it pays.

Today I'm going to show you how to make a cushion cover from an old jumper. Cushions really are the easiest thing to make and are great for beginners plus the are an instant way to spruce up your decor.

Take one old unloved jumper and a cushion. Chunky cable knit really do work well, if you haven't got one I'm sure you can pick a cheap one up from ebay.


Cut around the cushion this will be the front of the cushion (I used the front of the jumper). Cut another piece around the cushion but add extra a few inches on to it  and use the bottom of your jumper as the hem. (sorry the picture isn't great, the piece on the right is the same width)

Cut the back piece in half. Then layer the pieces as you are going to sew them. The front piece needs to be facing up. The next piece is your hem piece, make sure the hem is not on the edge (like mine, I did notice before I sewed together!)  and line up the other side face down.  Place the other piece face down on top of that one. Pin together if you wish, I didn't with this as I found it stayed together quite well.


Sew all the edges together, if you fabric is as thick as mine you may need to give it a little pull through the machine.

Turn out and add you cushion


Congratulations you have just upcycled a jumper and made something fabulous.

Monday, 18 November 2013

DIY: Christmas Facepaints


Over the past few weeks with parties, Halloween and more birthday parties, my children have become quite obsessed with having their face painted. And, I in turn have found something that I quite enjoy and I'm improving at each time.

So with Christmas fast approaching and outfits in mind, everyone is going to be looking for inspiration. So to complement your novelty Christmas outfit, should that be the case, I thought I share a reindeer tutorial and some other easy to do Christmas face paints.

First of all you need to get some quality face paints to ensure the best coverage. Although I coverage on the first picture doesn't look great it actually did its just the way the camera kept picking it up! Its really simple to do when broke down like below.

1. Cover the entire face brown apart from the mouth area. Dab with sponge for better coverage.
2. Draw the white bits above the eyes, don't worry if its not straight you can cover with the black afterwards. Do three spots on each cheek and cover around the mouth.
3. Use the black to draw the antlers and along the white above the eyes. Around the mouth, make sure your brush is as thin as possible to do the strokes and top lip.
4. Add a red nose and red bottom lip.
5.Finally add glitter to the nose and white spots on the face.


Some other Christmas face paints that would be easy to do:

This is me posing for a competition photo, I did this myself in the mirror and this is a simple snowman that I found online.

Both these face paints are great as they will go with any father Christmas or Mrs Clause costume. It'd obviously also work excellently if you are going to dress up as "Rudolph the red-nose reindeer".

So who are you or your little ones planning to dress up as this year?

*This is a PR collaboration.


Friday, 8 November 2013

What's wrong with a bit of fakery?

Now we are coming to the end of the year I spend lots of time reflecting on what we have done over the past year. We always set little or big targets at the beginning of the year outlining what we would like to achieve in the house. This year has been a big and very busy year.

Our main project this year was to do our driveway, it was just a single tarmacked driveway with a falling down wall at the side. We wanted to create a double block paved driveway with a smart new wall at the side and we wanted to do it ourselves - mainly to save costs. We dug it out, packed it up and block paved it and built a new wall. It looks great!

During all this we used some of the mud from the driveway to level out our back garden and the rest just got dumped on the front garden. Both garden ended up being such a mess but we had a lovely driveway!

When we finally got round to doing the back garden we wanted fuss free and as low maintenance as possible, so we decided on just a plain lawn, we cut every bush shrub and tree out! We really wanted artificial grass, we looked online and in many stores. Its as low maintenance as you could get! But at the time we really couldn't afford it so we just turfed it. This is what it looks like now:

It needs mowing regularly and strimming just as often, admittedly it doesn't take forever but who wants to spend time mowing? Can you notice the worn grass patches already in the right hand corner, its worn down so quickly.

As for the front garden we never got round to doing that before the winter set in. Its larger than the back garden and it seems to get over grown more than the back aswell. The grass doesn't grow the same, it all different kinds of grass and green weeds. I think it really lets the front of our house down especially with the new drive. 


In the spring I would really like to invest in the artificial grass. I just feel we have invested so much of our time and money in the drive and I don't want to be gardening every weekend for the rest of my life! And we need something to keep up appearances. Artificial grass is such low maintenance we wouldn't have to bother getting the mower out, watering it in the summer, or worry about weeds and the kids ruining it.

Now a days you can hardly tell the difference between the two either. Take these two lawns for instance – can you honestly identify which one is real and which one is fake…and trust me, one of them is:

Come on you can't even tell the difference! The only thing is if we had real grass it would NEVER stay green!

I am completely sold on artificial grass and I can't wait to start looking into it again for next year!

What are your thoughts and has anybody else already got it?